-
 Making terrain
A short description of how I make terrain.
1) First make sure you have the tools needed.
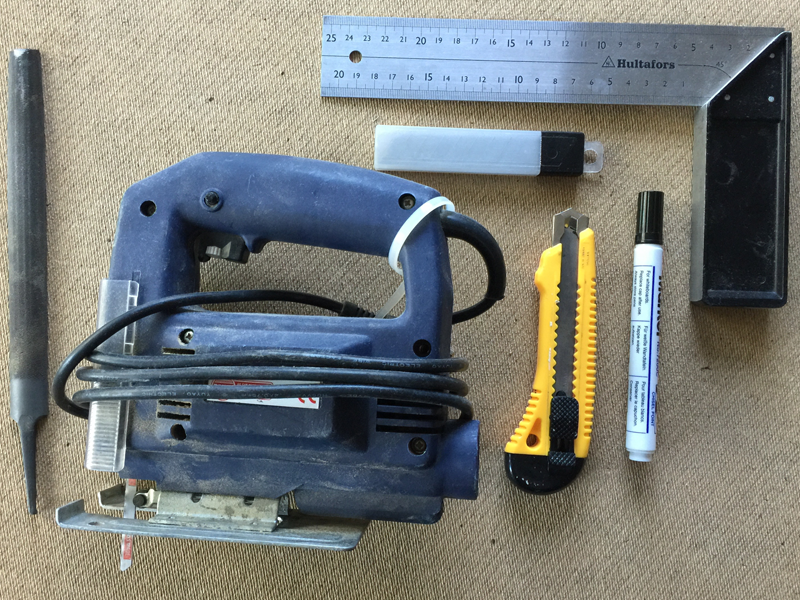
Missing in the picture: Fine sandpaper
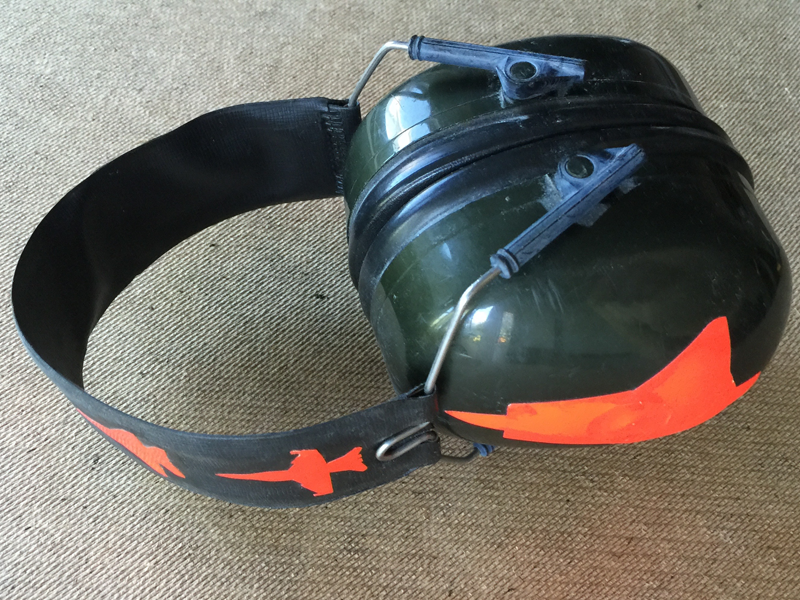
2) If using power tools like me, make sure you use all the necessary protection.
3) Buy the materials needed.
Masonite, Styrofoam, filler, wood glue/white glue/PVA glue, paints and flock.
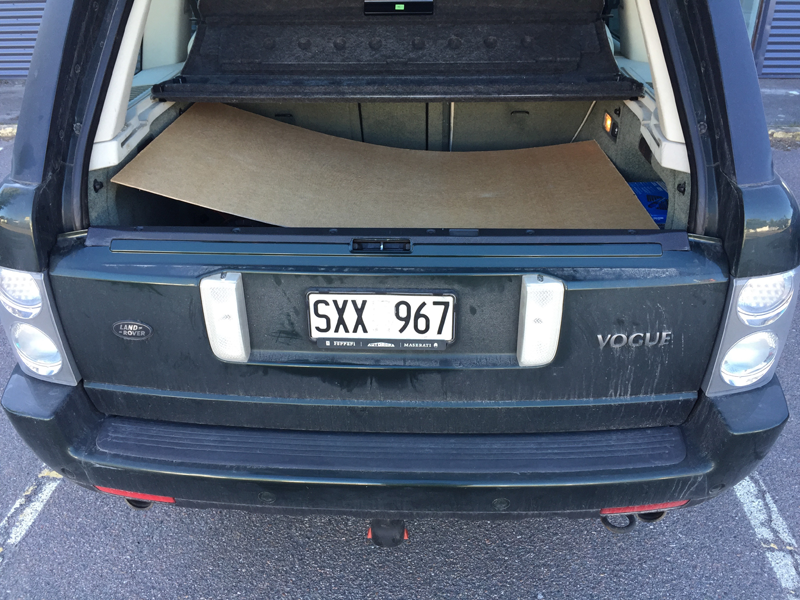
Make sure the size fits in the car...
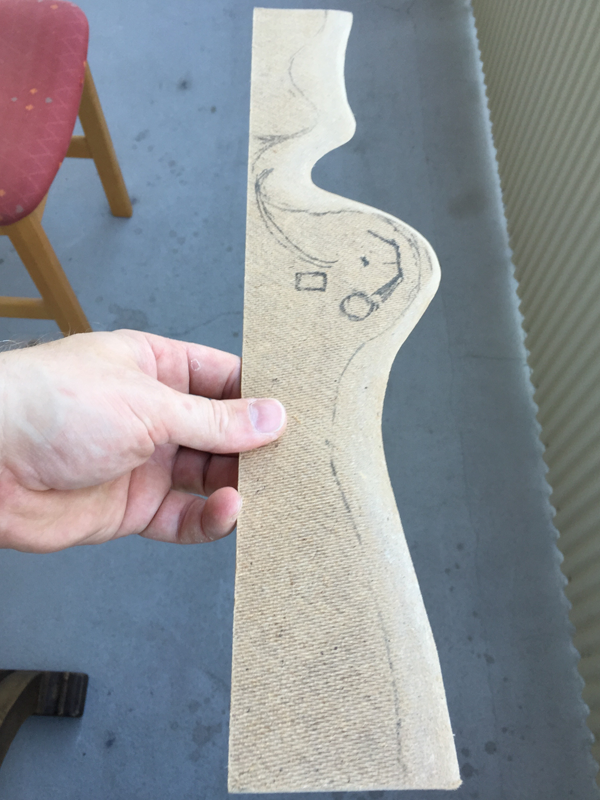
4) Draw the shape you want your coastline to have. I use the edges to make coastline and the inner part of the sheet for islands and sandbanks. I often draw things I would like to include on the piece like a fort or woods.
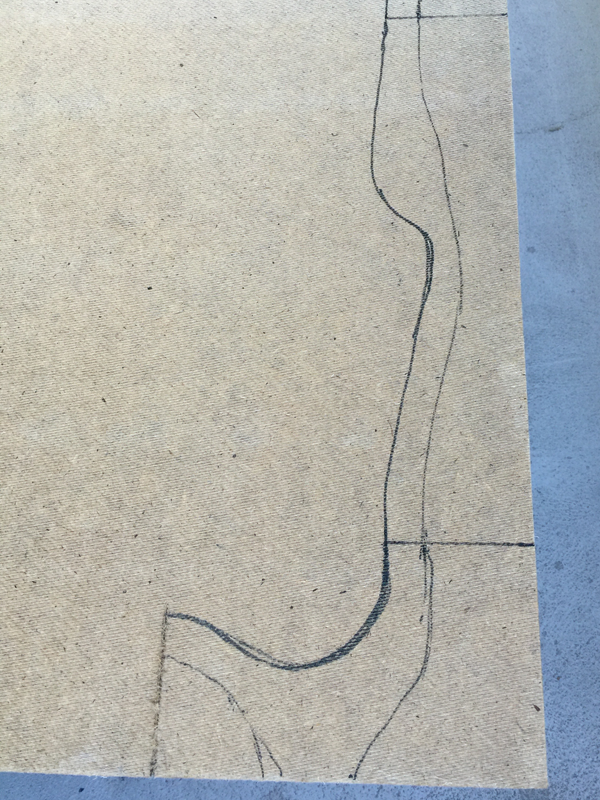
(The part I'm making varies in the pictures.)
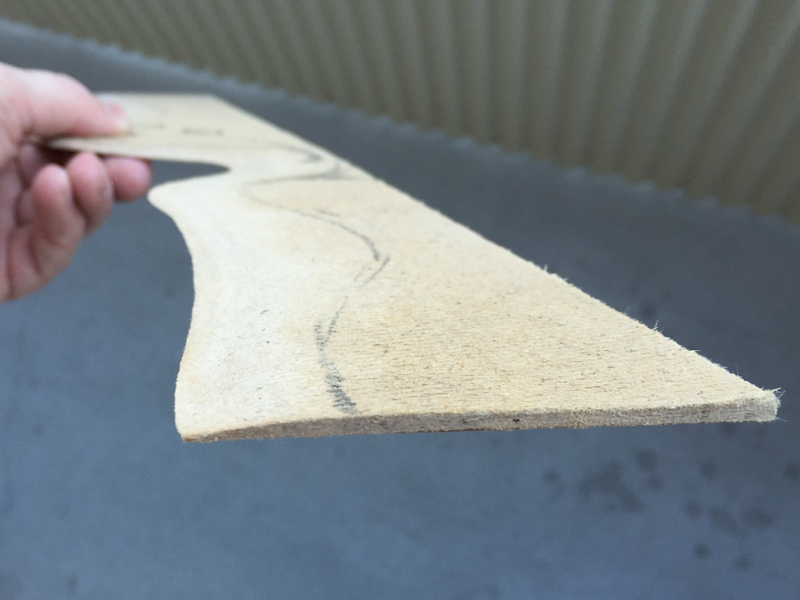
5) Use the saw to cut it out. I try to follow the drawn line as it't easier to set the finished edge before making the slope towards the water.
I use a knife to cut the slope along the edges to remove material more quickly. Then I use the file to make the edge sloping down to the water smooth and more sand-like in shape.
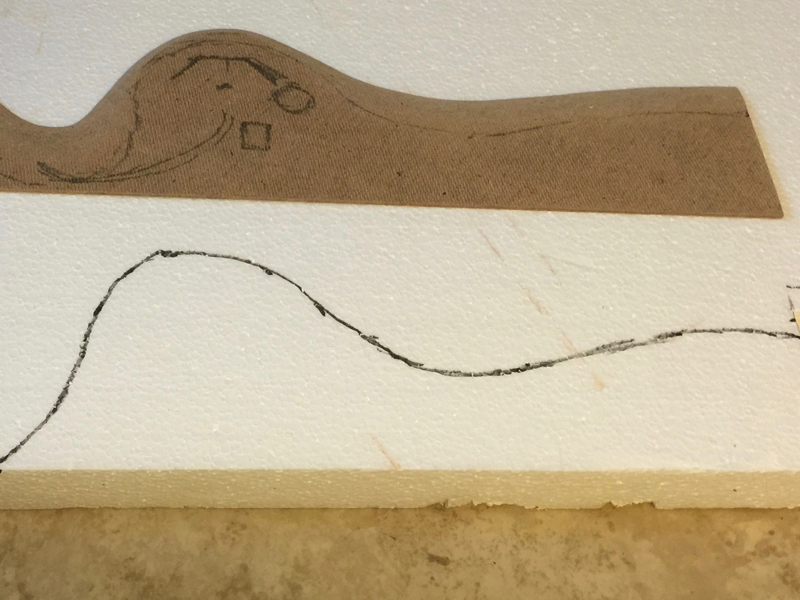
6) Draw the contour of the higher ground on the Styrofoam. I do this free hand and as long as you are outside of the shape you can cut away more later when testing it in place.
7) Cut the Styrofoam using the knife. Continue to trim it until you have a shape you think would look good. I try to not use the full height of the Styrofoam block or glue another layer on top at some parts. That makes your terrain not have the exact same height everywhere which will look strange sometimes. At other times this might be a wanted effect, for example parts of the northern coast of France.
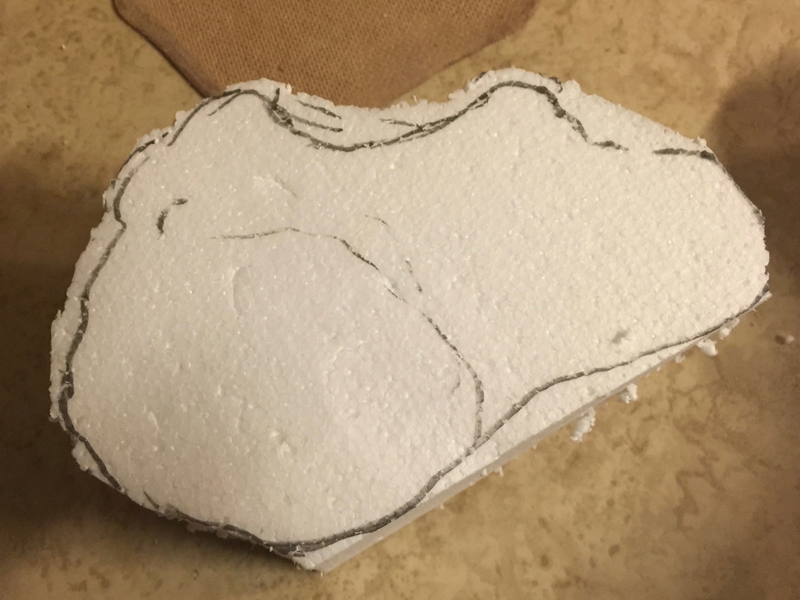
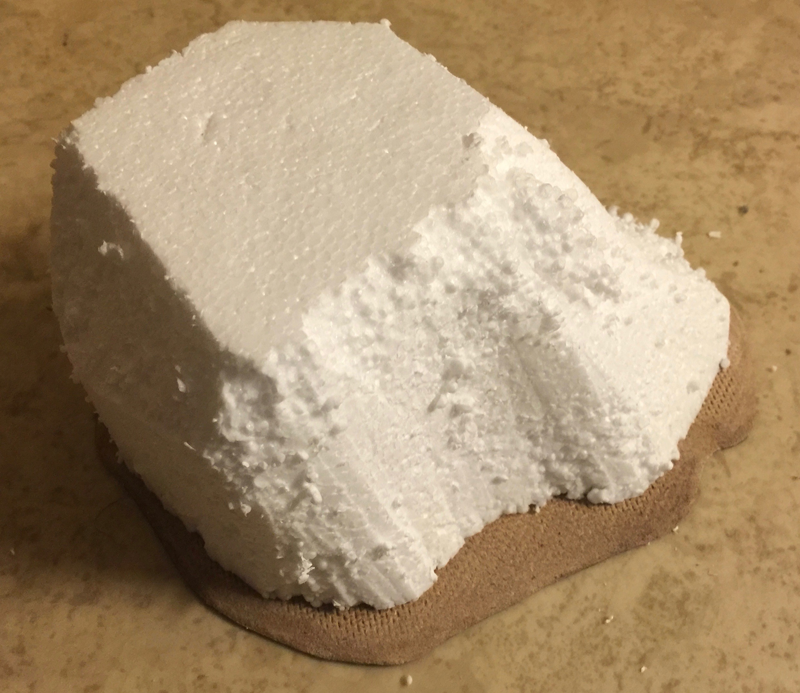

Don't worry if it's not perfect. The filler will smoothen things out.
8) Glue the Styrofoam to the Masonite using PVA glue.
9) Apply filler. I cover all the Styrofoam with the filler and never mind if it gets a little thick. If it cracks when drying (it will) you will fix that in the next layer applied. I use a finger to apply the filler and by wetting the finger you can get a smoother surface. There will be lines in the structure along the way the filler is applied. I try to let those follow the way rain would flow, making them seem more natural if they are visible when it's finished.
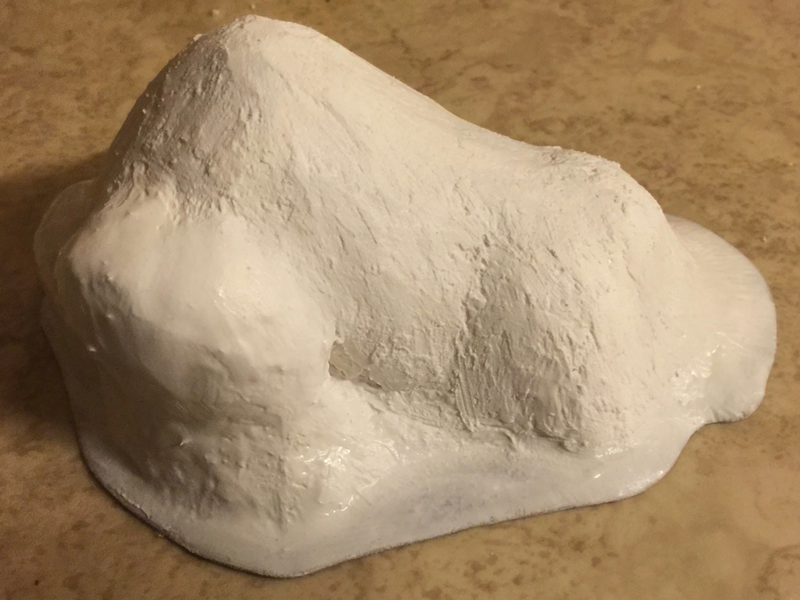

As you can see the edge of the Styrofoam has lifted slightly and made a visible edge. There was a crack too when dry. This was fixed in the following steps.
10) Let dry thoroughly.
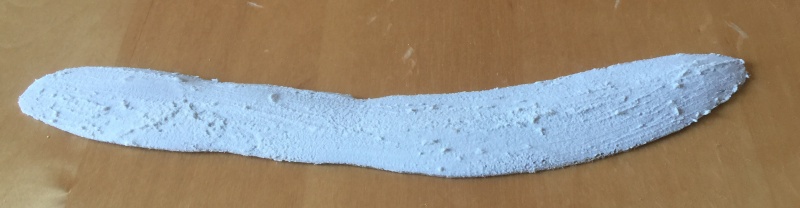
PIC
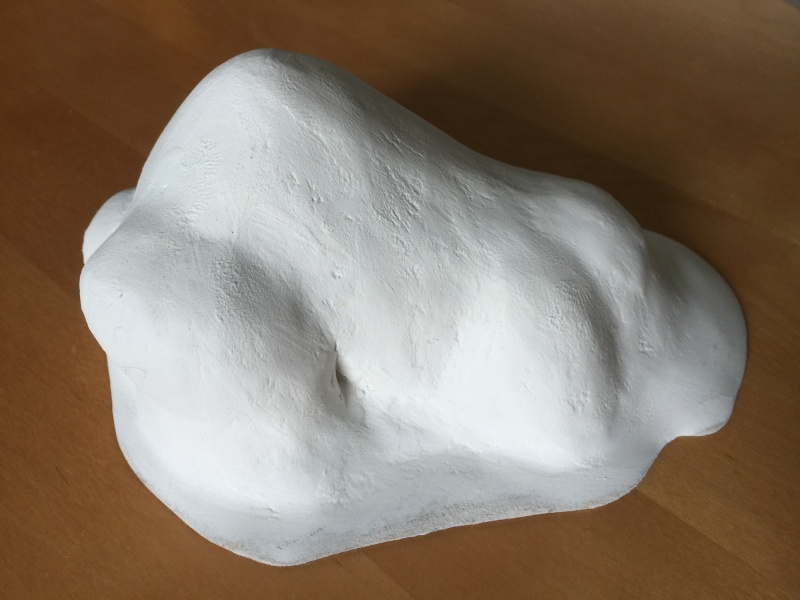
11) I usually sand the filler lightly before the next layer of filler to check if the first layer was thick enough or smooth enough
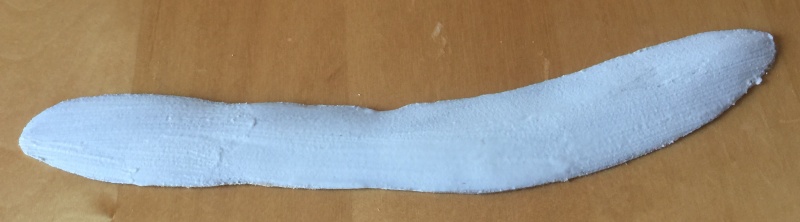
12) Apply another layer of filler. Make sure to smooth out cracks and cover parts where you sanded through to the Styrofoam.
PIC
13) Sand the filler as smooth as you want it. Some structure might be good to keep if it looks well enough.
14) Paint it. I use acrylic paints and start by painting the whole terrain piece in a thicker hobby paint, not for miniatures. Usually you should look at pictures of the place you want to emulate and then make it more cartoony. Rocks don't look very grey in nature but to show that it is a rock you could dry-brush light grey on it.
I start with a basic sand coloured paint and then use a brownish colour to represent more soil than sand. I start with the brown at the top and water it down as I get lower to the sand. If there is large cliffs I paint them in grey and then dry-brush a beige or light brown on it followed by a little grey very close to white as high lights. If it's a lesser area I dry-brush grey on a sand coloured base and add a little near white high light as above.
15) Flock it. I use Woodland scenics fine turf glued on with diluted PVA glue. Use an old paintbrush that you don't care about anymore and apply a mixture of PVA glue and water (perhaps 50-50). Pour on the turf and let dry. I have a few different colours of turf I mix between, like earth, green grass and weed. You can make your own blends too, but if you vary different turfs you get a more natural looking result.
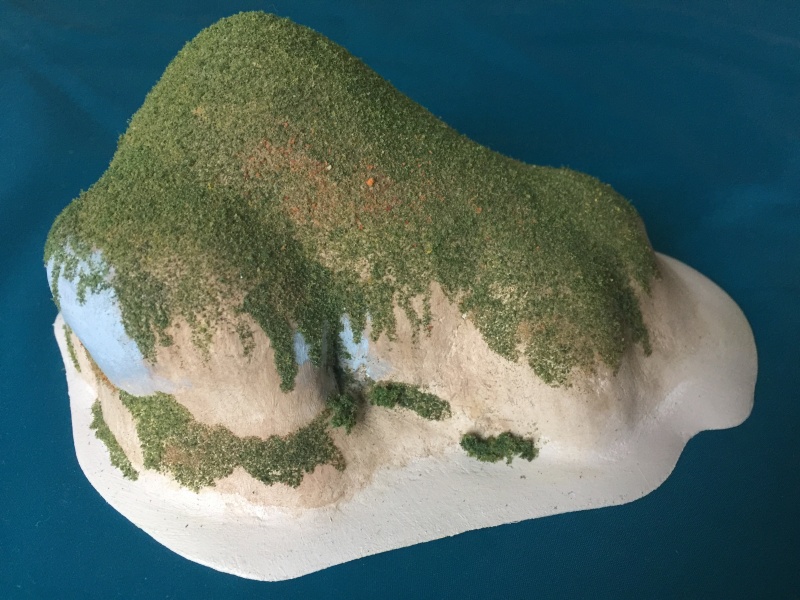
16) I also add Foliage-Clusters or Clump-Foliage to symbolize bushes and perhaps low trees.
17) Seal and it's finished.
Notes:
When making a coastline I made a defined width that all coastline were supposed to fit to. It has a width of 8 cm and a profile I drew on a template, but then lost. Now I use a piece of finished coastline as a template to draw the profile on the Styrofoam. It's not really recommended and if you do make sure you use a colour that wont destroy the finished piece. You might slip.
When making sandbanks I cut out small strips of Masonite and make the filed slopes meet without using any Styrofoam at all. I still apply filler.
Smoothened it using my finger and water. (Is that a word?)
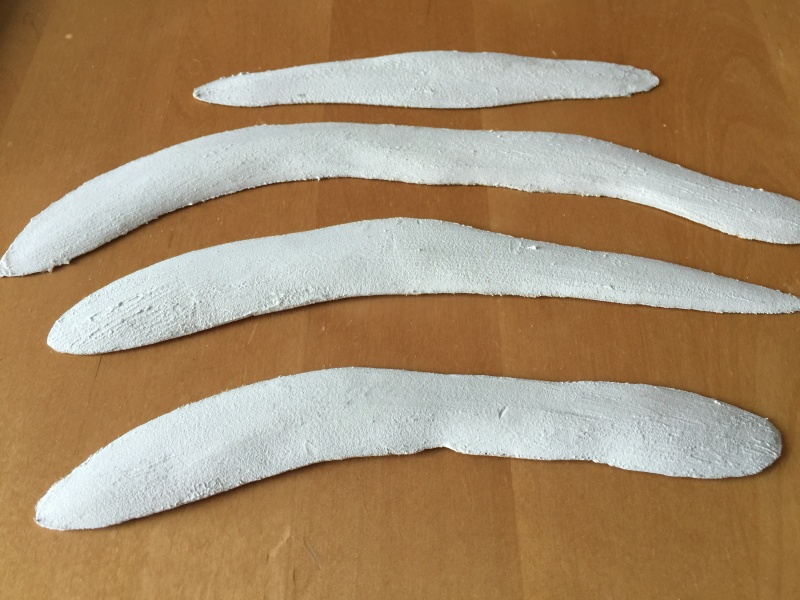
I make different shapes, several at a time.
When finished.
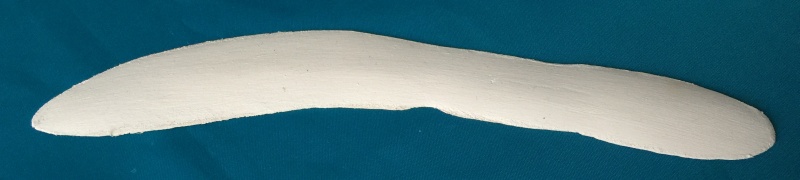
The beige looks almost white in the picture.
To be continued...
Last edited by TexaS; 01-03-2016 at 01:50.
 Posting Permissions
- You may not post new threads
- You may not post replies
- You may not post attachments
- You may not edit your posts
-
Forum Rules


 Reply With Quote
Bookmarks