-
 Trafalgar 2016 - The View from Villenueve
Here's my take on the Trafalgar battle fought at the Enfilade! convention on 5/29, organized by Walram.
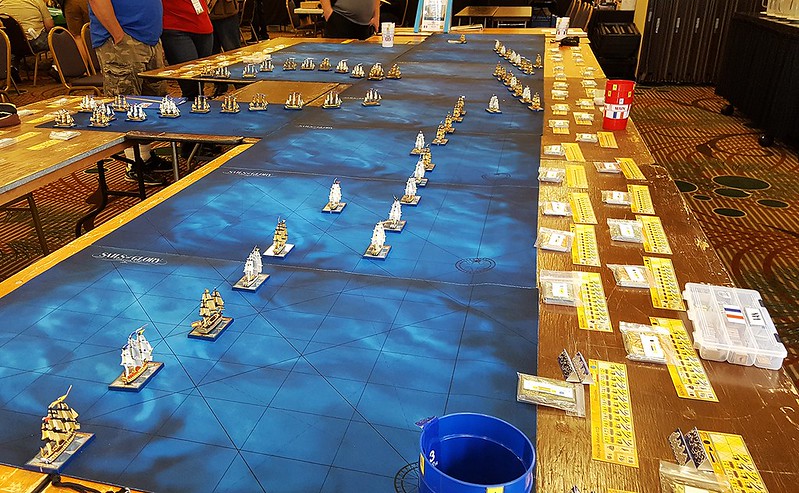
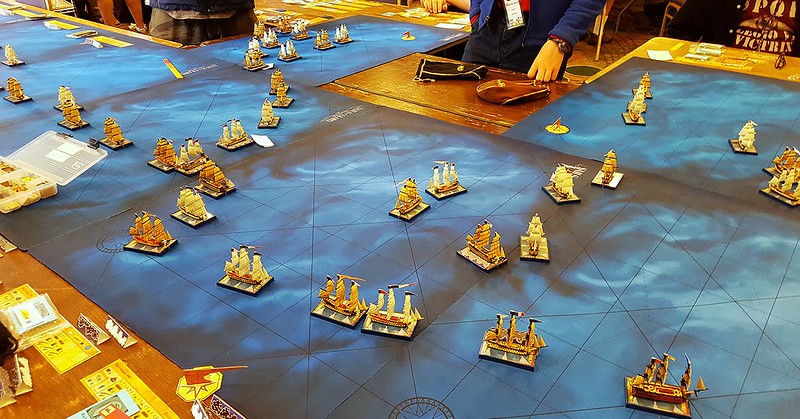
One of the fun things about these battles is that they are so big that nobody really has the full picture. In that way it feels very realistic. So although I was nominally commander of the French/Spanish Combined Fleet, I can still really only give a partial perspective from the French middle.
Hope you don't mind the length of my report--after all, it was a full day of fighting! [Even at that, I think I have missed a few turns. My recollection is that we got through 15 turns, but I could only distinguish 12 from my photos. Anyway it's close.]
----------
Storm Clouds Menace
Despite my great misgivings, battle could not be declined. Before my eyes the two vast fleets were converging. Terrible carnage would suffered this day, and the fate of empires hung in the balance.
On both sides, officers and men alike prepared themselves for the task they were about to undertake.

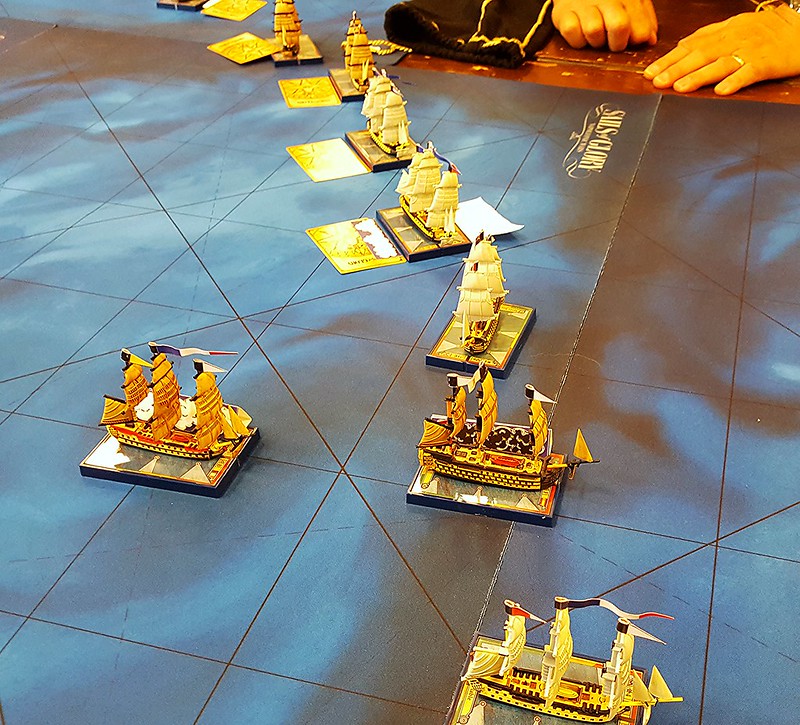
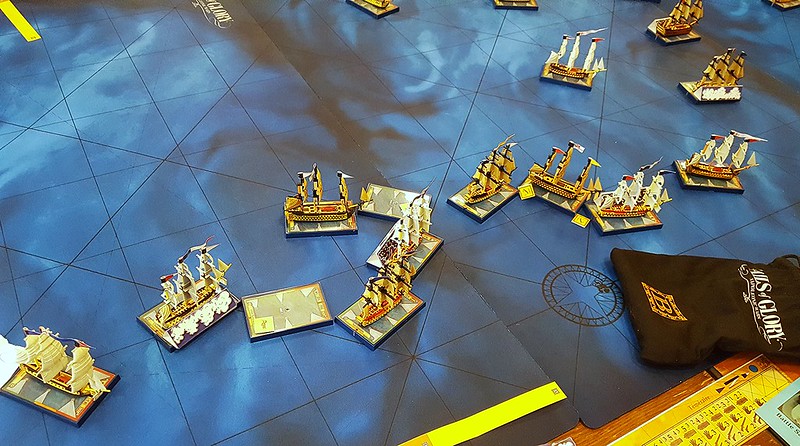
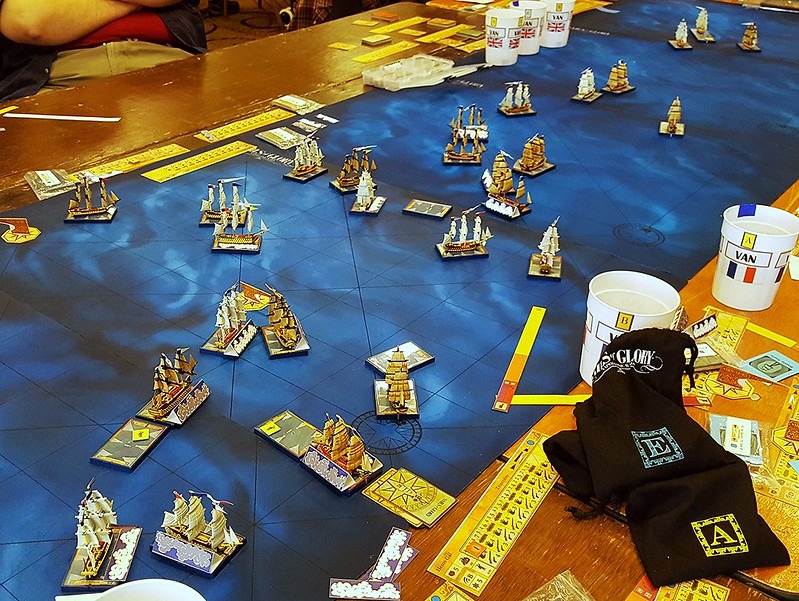
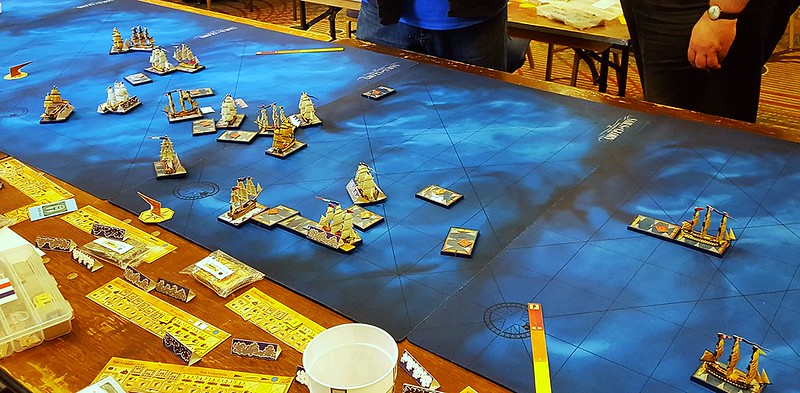
From the deck of my flagship, Bucentaure (bottom, fourth from the left), I saw two columns of British warships, under full sail, slicing through the waves like a dagger to the heart of my fleet.
The combined French and Spanish force consisted of five divisions--Van, Main, Rear, Obs. Van, and Obs. Main. I had assumed direct responsibility for the second and third divisions (Main and Rear), 14 ships in all, ably assisted by commodores Colin, Greg and Gary.
In my mind's eye, I could see clearly my intrepid adversary, the incomparable Admiral Nelson, striding the deck of HMS Victory at the head of the British van.
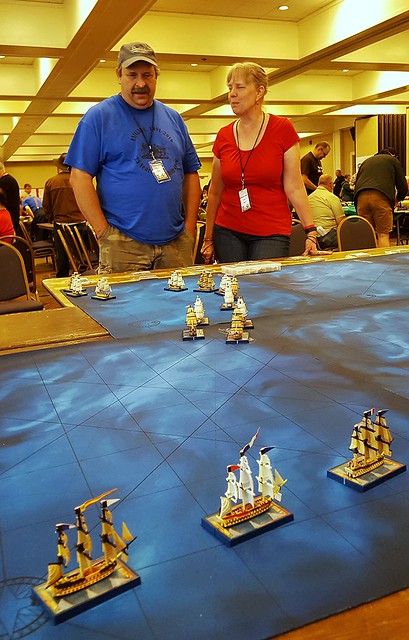
Battle Joined
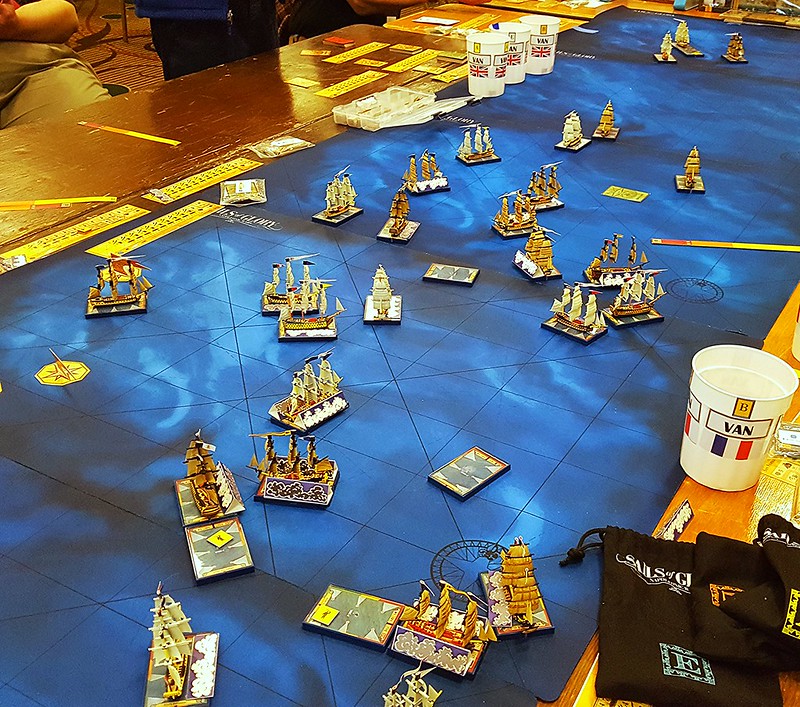
[Turn 2] The first shots rang out between the Santa Ana of my Rear division (bottom) and HMS Royal Sovereign, leading the British main force (right).

While the British main force stayed in line-ahead (previous picture), the British van (top) deployed in a line-abreast approach. The heart of my force (bottom: right-to-left Santisima Trinidad, Bucentaure, Redoutable, San Justo) could do nothing but await the fateful encounter...
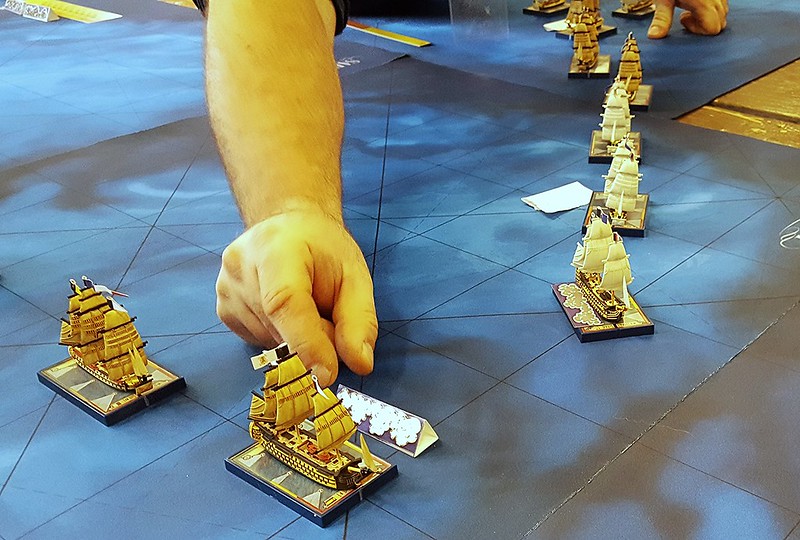
[Side-note: there was a rules restriction that the French/Spanish could only sail slowly in line formation until the British broke through. However one of the commodores didn't quite understand and started speeding up and turning. I decided that sounded like just the sort of random thing that would happen in a battle, so I decided not to intervene. That is why Redoubtable is getting tail-gated in this picture.]
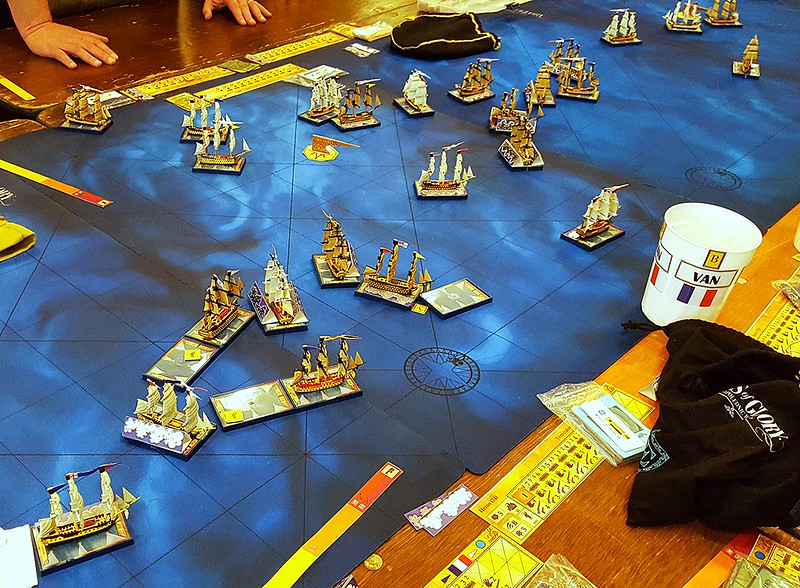
[Turn 3] Having traded blows, Royal Sovereign turned to try to break through the line, between Santa Ana (ahead) and Fougeaux (aft).
[Turn 4] Now, I felt, the engagement had truly begun, for both flagships, Victory and Bucentaure, at last unleashed their initial broadsides (center-right). Meanwhile Royal Sovereign ran afoul of Fougeuax and the two ships began exchanging musketry and preparing boarders (left).
A Brisk Action
As the pace of battle accelerated, every man knew his station and did his utmost for king and country.
[Turn 5] Victory (center) closed our line, firing murderous raking broadsides with both port and starboard batteries. While Redoubtable turned away to try to avoid collision, a solitary French marine in her mizzen-top aimed his musket and fired. The ball struck Nelson with a sickening thud, and the life of a British hero was cut short. Undaunted, his men fought on with his name upon their lips.
Previously [somehow I never got a picture of this] I had seen through my spyglass that far ahead, at the front of our line, the isolated HMS Africa (64), had bravely but rashly tried to intercept our leading ships. Now I received the signal that she had been boarded and forced to strike. My joy was short-lived, however, as Fougeaux had to succumb to the violence administered by HMS Royal Sovereign--our first loss.

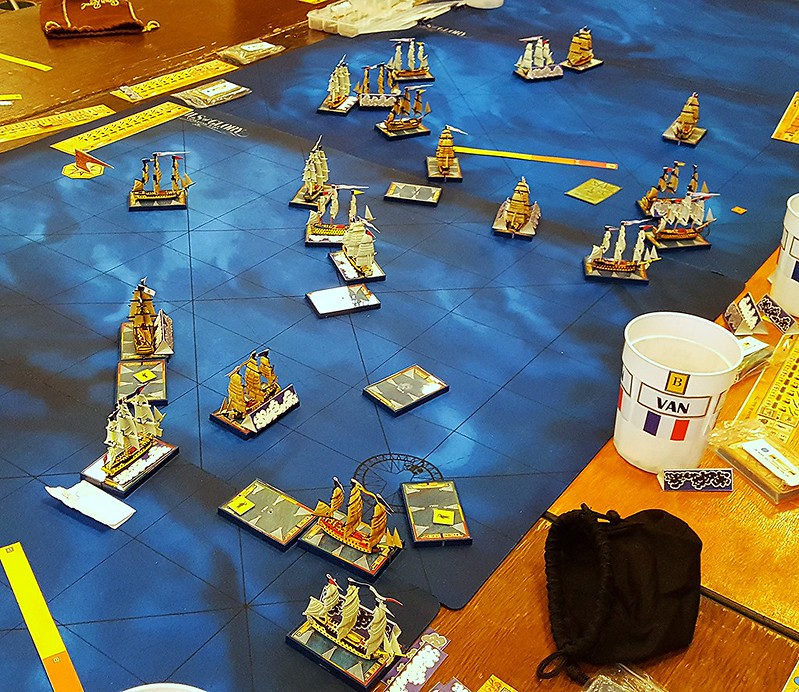
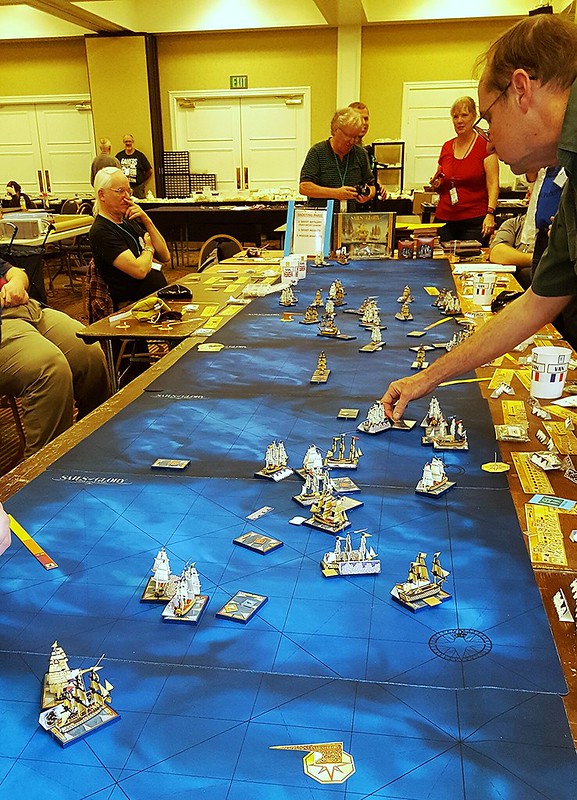
[Turn 6] Battle now raged all around me. HMS Victory was fouled with both Redoutable and San Justo, all three trading damaging blows (bottom). Just ahead, my flagship, Bucantaure, was still constrained to try to maintain formation by sailing in a straight line, so I had no choice but to endure a second killing stern rake, this time from HMS Neptune. Aft of San Justo, both HMS Temeriaire and HMS Leviathan had also crashed our line. I could see that the rest of the British van force was angling farther foward to chase my van.
Still farther back, at the end of my own personal command, Monarca and Pluton were coming face to face with overwhelming force from the British main column (top-left). The nearby hulk of Fougeaux offered an ominous portent.
It was at this point that I took my one significant action as commander of the fleet. My blood was up, so I signalled the van admiral to have all his ships tack and come to our assistance.
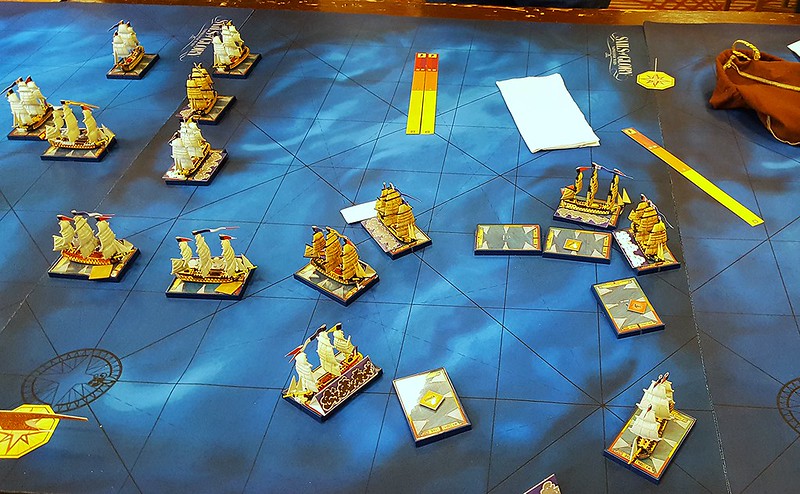
[Turn 7] As Bucentaure at last broke formation to return fire against HMS Neptune (top-right), I saw the ships behind me win a great success. Together Santa Ana, Neptune, San Leandro and Indomptable were able to overwhelm the isolated Temeriere (a 98-gun second rate) and Leviathan, capturing and taking both in tow (center). Still Victory kept up its uneven fight against two enemies, with deadly boarding actions sweeping all three decks clear.
[Turn 8] HMS Victory was fighting like a fleet unto itself. Redoutable was forced to strike at last, and San Justo broke free, nearly a spent force (center).
Despite my earlier signal, a few of the lead ships of the fleet had sailed on for Cadiz, departing the battle in company with our prize, HMS Africa. Most of the van had tacked as ordered, however, and were now approaching the battle. Leading them were three ships of my own division command, San Francisco, San Agustin and Heros, which began to discharge their guns in support of the heavily-beset Bucentaure and Santisima Trinidad (top).
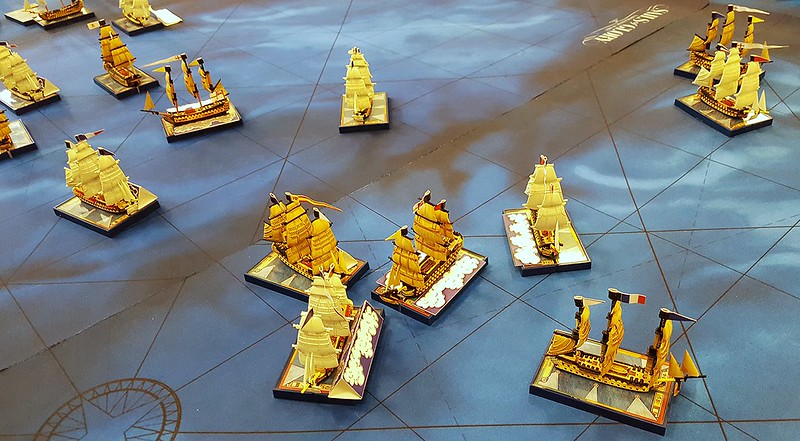
By this point the battle had devolved into two entirely separate fights. The dreadful hole torn in the line by HMS Royal Sovereign had continued to expand, as one French ship after another impacted the impenetrable British line. Monarca had been instantly destroyed by simultaneous fore and aft rakes from Royal Sovereign and (?) HMS Tonnant [I think it was 22 B-chits in one turn or something like that]. Now Pluton had to capitulate as well, athough her marines and boarding parties sold themselves very dear (empty bases, center-right). The only consolation was that the heated engagement had forced HMS Mars to strike as well (bottom).
At last the Observation squadrons at the rear of our line were also coming into action, although they met with a great deal of ill-luck. [That is to say, I heard the chit-draws were really frustrating!]
Endgame
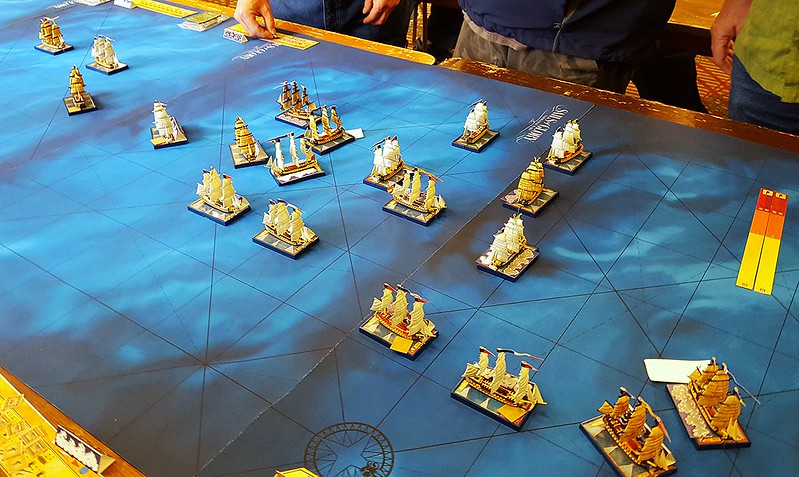
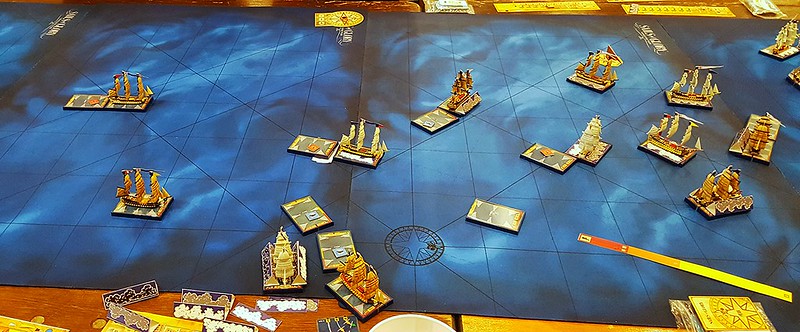
[Turn 9] To my great dismay, yet another raking shot from a British 74 [HMS Achille?] destroyed the remaining will to fight among Bucentaure's crew. Reluctantly I was forced to haul down the flagship's colors (empty base, top-middle). Hoping to return the favor, San Leandro turned to engage HMS Victory (bottom-middle), while San Justo turned into the wind to tack and have another go at the British flagship as well.
[Turn 10] The van battle continued to rage unpredictably. I feared my ships were taking the worst of it. San Leandro now grappled with HMS Victory (bottom), firing her broadside at point-blank range.

Fighting boiled in the rear as well. Several of our ships had been lost, but we still hoped to finally finish off the Royal Sovereign (bottom), which was lightly damaged but badly depleted of crew.
[Turn 11] Now another French ship, Neptune, was lost (center). But in a moment of sweet redemption, HMS Victory, which had fought nearly single-handedly against Bucentaure, Redoutable, San Justo, San Leandro and Indomptable, was finally captured by a boarding party from San Leandro. The venerable first-rate was crewed and brought under tow (bottom).
The crippled San Justo was captured as a prize by HMS Belleisle (middle), which had been beating up in pursuit of our ships for most of the battle. However San Francisco managed to get a line to Bucentaure and begin towing the flagship to safety (right).
The carnage continued unabated in the rear of the fleet as well, with several more ships striking.
Reckoning
At this point the "end of afternoon session" clouds rolled in, and mercifully called a halt to the battle. The gods on high deemed the action a marginal French victory. But standing, dazed, on the wrecked quarterdeck of Bucentaure, I was far less certain. It seemed to me that we had had the worst of the fighting, and that if the battle had continued the superior British gunnery would eventually have brought us to ruin.
In the main and rear French/Spanish squadrons, half of our 14 ships were out of action (Pluton, Monarca, Fougeaux, Neptune, San Justo, Redoutable, Bucentaure). Of the remaining ships, Santa Ana, Indomptible and San Leandro were barely in the fight, and few of the others were in solid condition. We had captured Victory, Temeriere and Leviathan, but it was far from clear that we could hold on to them. My sense of the engagements ahead and behind was that although we were fighting bravely and dealing heavy blows, the weight of destruction had been falling even more heavily on us.
In the end, no one can say what might have befallen had the battle continued...
[Thanks Dave, Tess, Dean and Jason for a great experience as always!]
Last edited by fredmiracle; 06-05-2016 at 11:48.
 Posting Permissions
- You may not post new threads
- You may not post replies
- You may not post attachments
- You may not edit your posts
-
Forum Rules


 Reply With Quote
Bookmarks